Let’s be honest – nobody buys a motorhome because they’re excited about emptying the toilet cassette.
It’s hardly the glamorous side of touring life, but get your loo routine right, and your motorhome toilet becomes one of the greatest luxuries of touring. Get it wrong, however, and things can become unpleasant rather quickly.
The good news is that caring for a cassette toilet is actually very simple once you understand a few of the basics. From choosing the best motorhome toilet chemical to dealing with the dreaded stuck blade, here’s everything you need to know to keep things fresh, clean and trouble-free.
Practical Motorhome is supported by its audience. When you purchase through links on our site, we may earn an affiliate commission. Learn more
Blue, green or biological?
Walk into any leisure shop, and the toilet-chemical aisle can feel surprisingly intimidating. Blue liquids, green liquids, sachets, pods, sprays… there’s enough choice to make you wonder whether you need a chemistry degree just to go camping. So what do you need to know when you’re choosing the right motorhome toilet chemicals?
Traditionally, most motorhomers used blue toilet chemicals. These are powerful at breaking down waste and controlling smells, but many motorhome sites and aires now discourage or even ban them because some contain formaldehyde and other chemicals.
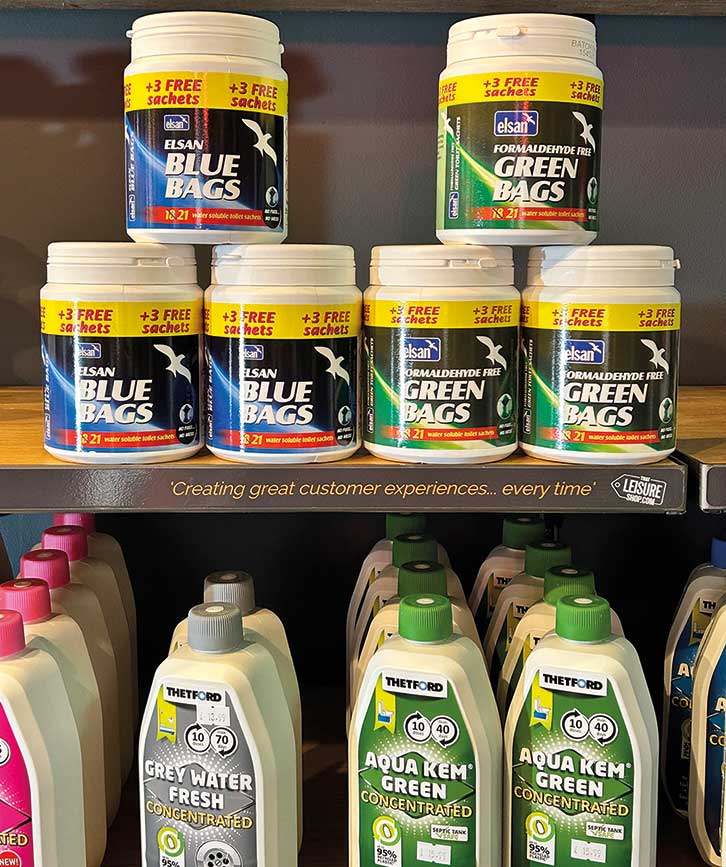
That’s where the greener alternatives come in. Green toilet fluids are usually more environmentally friendly and compatible with septic tanks. Modern versions are far better than they used to be and, in my experience, work perfectly well for most touring.
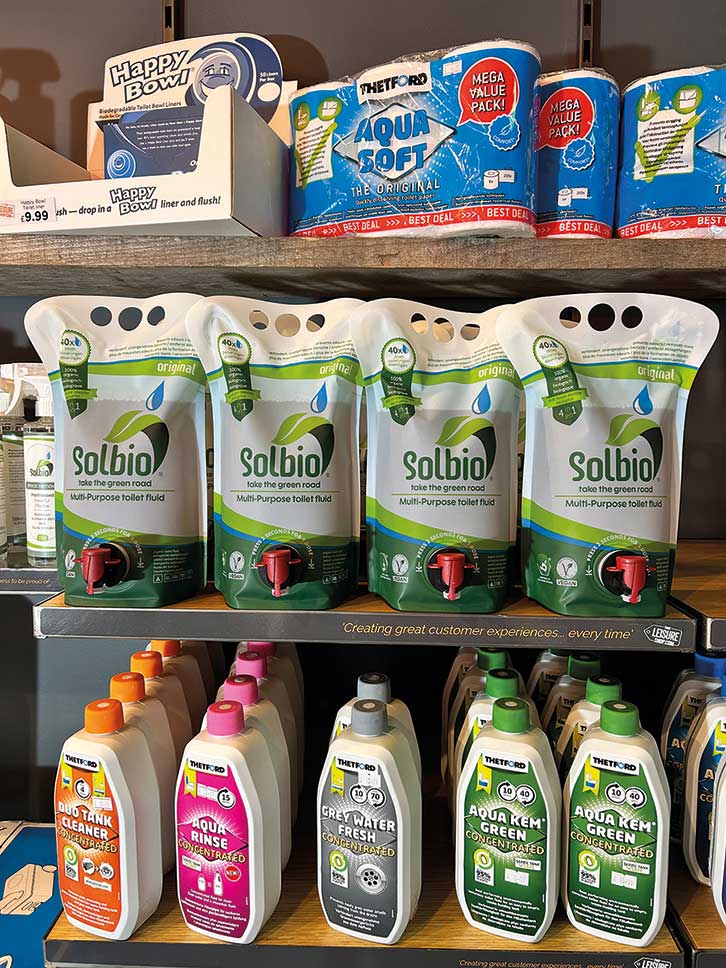
Then there’s the growing trend for biological solutions. Brands such as Solbio have become very popular as an entirely environmentally safe alternative; it contains no chemical products or synthetic substances.
Whichever route you choose, consistency matters. Mixing different products can reduce effectiveness and sometimes create unpleasant odours. Pick a system that works for you and stick with it.
How to avoid bad smells
Most cassette toilet odours stem from one simple issue: lack of ventilation and cleaning.
First, always make sure you add enough water to the cassette along with your chosen chemical. Too little liquid and waste won’t break down properly. Too much and you’ll be carrying unnecessary weight and reducing cassette capacity.
Second, don’t leave waste sitting for days on end, especially in hot weather. Empty the cassette regularly, particularly during warmer months.
One thing to avoid is using household bleach or aggressive bathroom cleaners inside the cassette or toilet bowl. While they might seem like the obvious solution for keeping things hygienic, harsh chemicals can damage seals and gradually turn white plastic yellow.
Motorhome toilets are made from lighter plastics than domestic loos, so it’s always best to stick with cleaners designed specifically for cassette toilets.
A clean blade seal also makes a huge difference. The sliding blade inside the toilet needs occasional lubrication to keep it airtight. If it dries out, smells can creep back into the washroom.
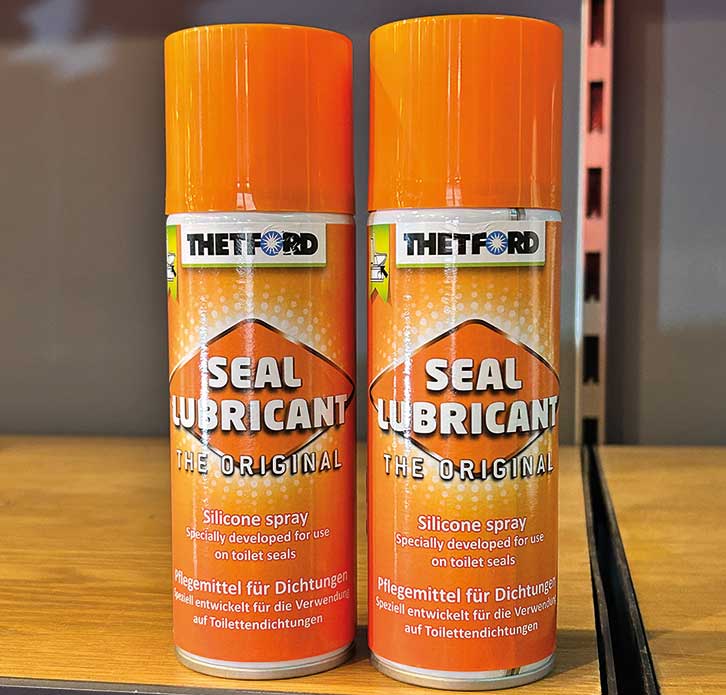
The best solution is a dedicated silicone-based lubricant spray designed for cassette toilets. I would suggest avoiding using WD40 or household oils because they might potentially damage seals over time (and don’t miss our tips on how to fix a leaking cassette toilet, either).
I never travel with the cassette more than half full – I dread the idea of it leaking into the chamber. I always advise travelling with the blade closed and a small amount of liquid in the cassette. It helps to prevent any lingering smell and the motion of driving swirls it around to help keep the toilet cassette clean.
Emptying without the drama
Every motorhomer remembers their first time emptying a motorhome cassette toilet. Usually involving the wrong button, a splashback incident or forgetting to open the air vent. Yuk!
The key is not to overthink it. Most modern toilet cassettes are designed brilliantly well. Pull out the cassette, unfold the swan-neck pipe, unscrew the cap, press the air-release button, and pour steadily. Job done.
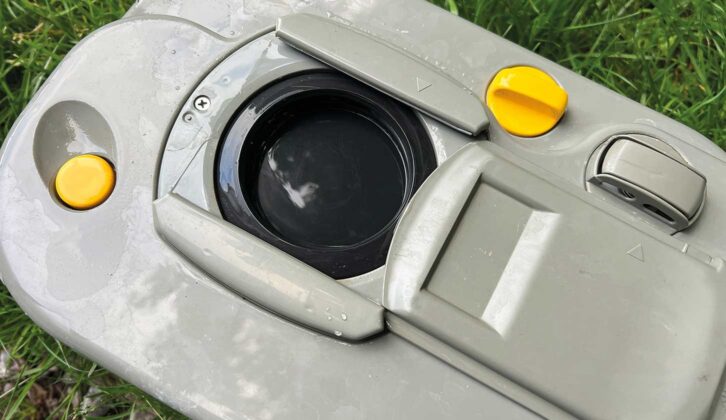
The biggest mistake people make is waiting too long before emptying. A fully loaded cassette is heavier, harder to manage, and more likely to cause accidents.
It’s also worth rinsing the cassette thoroughly every few empties rather than simply topping up chemicals each time. Residue builds up surprisingly quickly, particularly around the level sensor probes, which is why some toilet indicators permanently claim the cassette is full even when it isn’t.
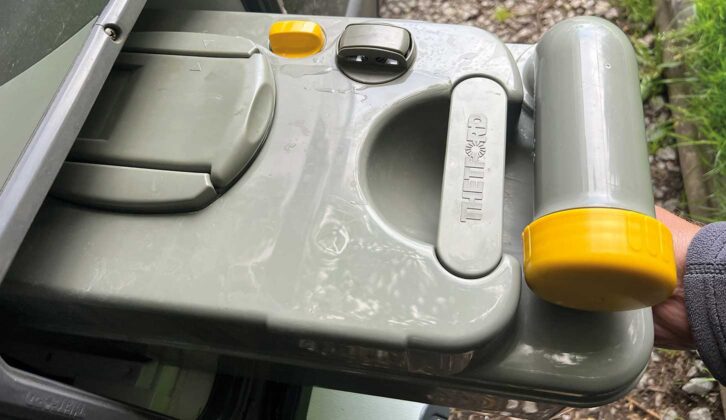
Warm water and a cassette cleaning solution now and again can work wonders.
The dreaded stuck blade
Ah yes – the classic stuck blade. Few things create panic quite like trying the toilet cassette lever and finding absolutely nothing moves.
Usually, the cause is one of three things: dried waste residue; lack of lubrication; or simply a lack of use over winter.
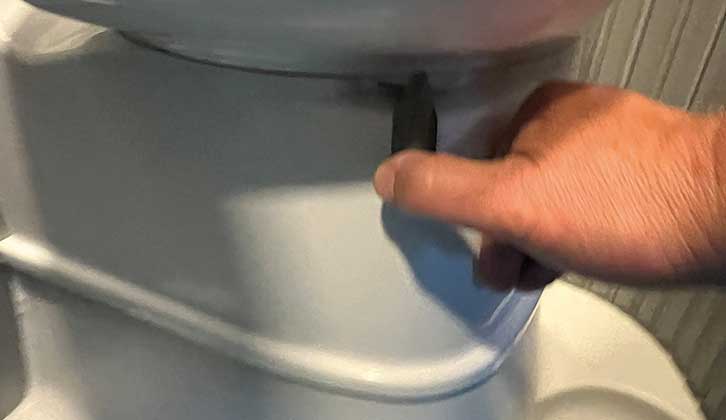
If the blade feels stiff, don’t force it. Excessive pressure can damage the mechanism, turning what was just a small annoyance into an expensive replacement.
Instead, remove the cassette and inspect the blade mechanism from the outside. Most of the time, cleaning and lubricating the seals will solve the problem immediately.
If the cassette has been stored for months, fill it with warm water and leave it standing for a while before trying again. Dried residue can effectively glue the mechanism shut.
Some older cassettes eventually wear out internally, particularly if they’ve been forced repeatedly over the years. The good news is that replacement seal kits are relatively inexpensive and can often breathe new life into a tired cassette.
Winter storage matters
One of the biggest causes of toilet problems is winterising a motorhome poorly.
Before laying up the motorhome for any length of time, you should empty the cassette and rinse it thoroughly. Leave the blade slightly open during storage, because this can help prevent the seals from sticking together.
Never leave chemicals sitting in the cassette for months at a time. Apart from the smell, they can dry out seals and damage components.
A quick clean before winter and another before the spring touring season usually keeps everything in perfect working order.
Better still, remove the cassette from the motorhome and store it indoors, away from any potential frost damage. I keep ours in the garage through the winter.
The bottom line
Toilet maintenance may never become your favourite part of motorhoming, but it doesn’t need to be dreaded either.
Use decent chemicals, keep everything clean and lubricated, empty the cassette regularly and most problems simply disappear.
And remember – having your own clean, convenient toilet on board is one of the reasons motorhome touring is so wonderfully comfortable in the first place.
Even if it’s not the sort of thing that any of us ever boasts about over a campsite barbecue!
You can find out more about Motorhome Matt and listen to his podcast at motorhomematt.co.uk
Future Publishing Limited, the publisher of Practical Motorhome, provides the information in this article in good faith and makes no representation as to its completeness or accuracy. Individuals carrying out the instructions do so at their own risk and must exercise their independent judgement in determining the appropriateness of the advice to their circumstances. Individuals should take appropriate safety precautions and be aware of the risk of electrocution when dealing with electrical products. To the fullest extent permitted by law, neither Future nor its employees or agents shall have any liability in connection with the use of this information. Double check any warranty is not affected before proceeding.
If you’ve enjoyed reading this article, why not get the latest news, reviews and features delivered direct to your door or inbox every month. Take advantage of our brilliant Practical Motorhome magazine SUBSCRIBERS’ OFFER and SIGN UP TO OUR NEWSLETTER for regular weekly updates on all things motorhome related.